Getting Your Car Ready: A Pre-Inspection Checklist
Before heading to the testing center, a little preparation goes a long way. Think of it as a quick tune-up for both your car and your peace of mind. Failing to prepare can lead to unnecessary delays and extra costs. Are you ready to maximize your chances of passing your Hagerstown emissions test on the first try?
Check Vital Fluids: Ensure your engine oil, coolant, and other essential fluids are at the correct levels (check your owner's manual). Low fluids can negatively impact test results.
Secure the Gas Cap: A loose or damaged gas cap can cause emissions leaks, potentially leading to failure. Tighten your gas cap firmly before leaving for the test.
Address the Check Engine Light: If your check engine light is on, address the underlying issue before your test. This light often indicates a problem affecting your emissions. Ignoring it could lead to a failed inspection.
Short Warm-Up Drive: Take your car for a 10-15 minute drive before the test. This allows the engine and emission control systems to reach optimal operating temperature, ensuring accurate readings.
Review Vehicle History: Familiarize yourself with your car's maintenance records, particularly any past repairs related to the emission system. This can help you anticipate potential issues.
Here's a handy checklist:
| Item | Checked? | Notes |
|---|---|---|
| Engine Oil | Check level and condition; top off if necessary | |
| Coolant | Check level; look for leaks; top off if necessary | |
| Gas Cap | Ensure it's securely tightened | |
| Check Engine Light | Address any issues; have it diagnosed if needed | |
| Recent Repairs | Note any work done on the emission system; bring records if possible |
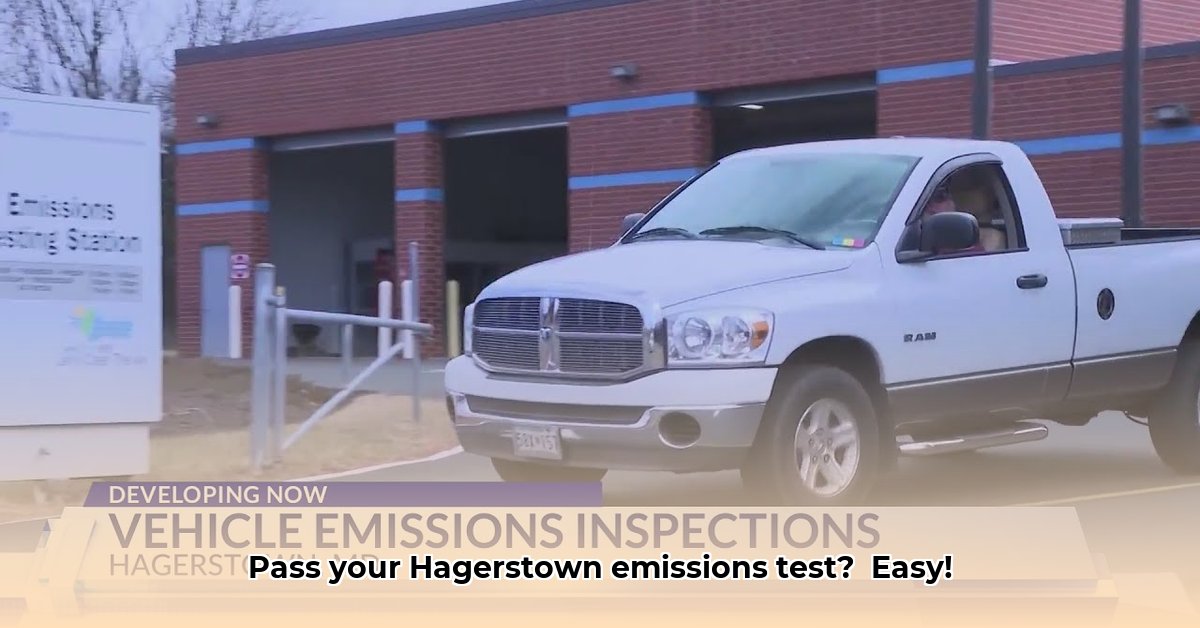
Finding a Hagerstown Emissions Testing Center
Several licensed testing facilities operate in Hagerstown. Use online search engines or map applications to locate a convenient and highly-rated facility. Remember to call ahead to confirm hours of operation, appointment requirements, and pricing. Planning ahead prevents unexpected delays.
The Emissions Test: A Step-by-Step Guide
The testing process is typically quick and straightforward. Expect the following:
Vehicle Hook-Up: A technician connects equipment to your vehicle's exhaust system to measure emission levels.
Engine Start and Idle: You'll start and idle your engine for a set period. Follow the technician's instructions carefully.
Data Collection: The equipment collects data on your vehicle's emissions.
Test Results: The technician reviews the results, usually within a few minutes.
Pass or Fail: You receive a report indicating whether your vehicle passed or failed.
After the Test: Passing and Failing
Pass: Congratulations! You're good to go.
Fail: The technician will provide a report detailing the reason for failure. Address the noted issues before scheduling a retest. Contact your mechanic for repairs. Following Maryland's retesting procedures is crucial.
Frequently Asked Questions (FAQs)
How often is emissions testing required? Maryland regulations determine inspection frequency; check the MVA website for details. Failing to comply can lead to penalties.
What are the penalties for failing? Penalties include fines and potential registration renewal issues. See the MVA site for complete details.
Can I appeal a failed test? Appeals are possible, but require substantial evidence of testing errors. Consult the MVA website for appeal procedures.
Resources and Next Steps
The Maryland Motor Vehicle Administration (MVA) website ([Insert Relevant MVA URL Here]) is your primary resource for accurate and up-to-date information on emissions testing regulations, approved testing stations, and potential penalties. Proactive vehicle maintenance is your best defense against a failed inspection. Remember, preparation is key!